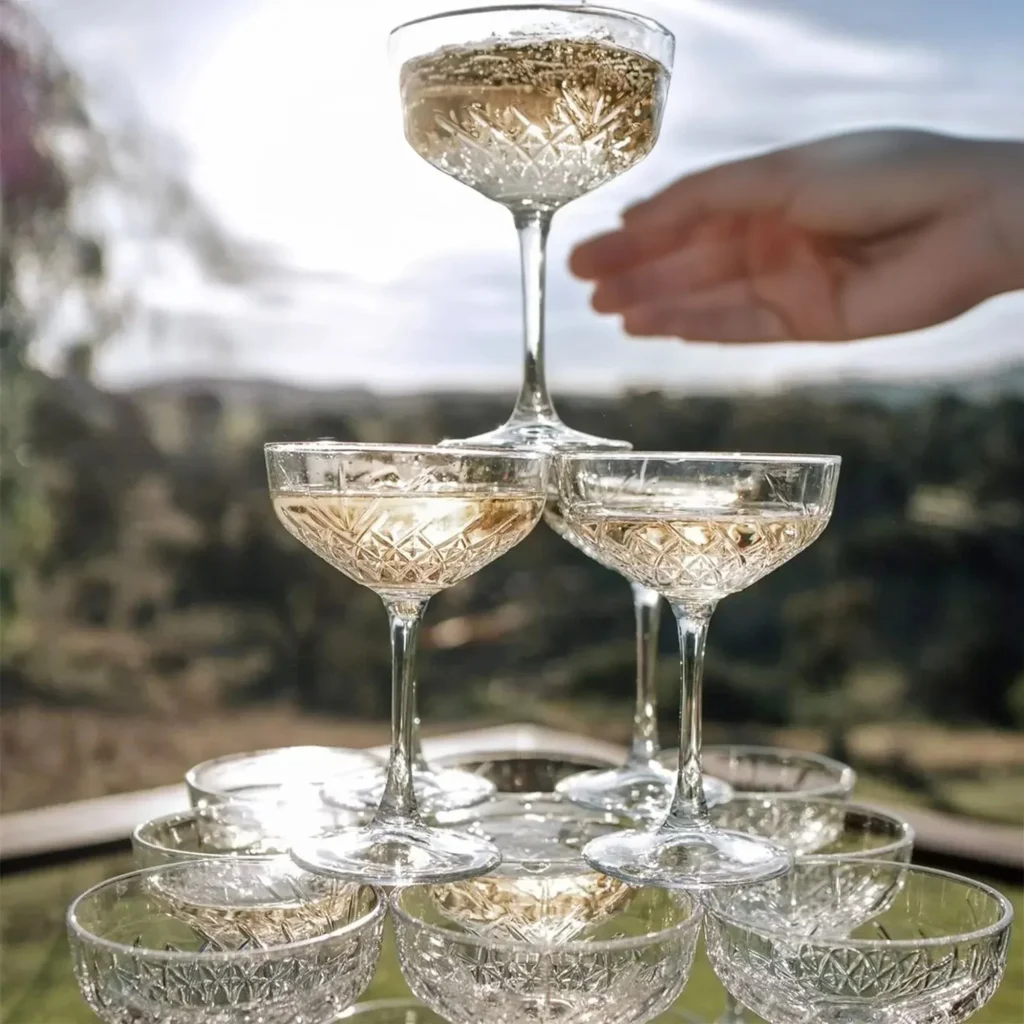
A champagne tower is a stunning centerpiece for weddings, parties, and celebrations. At The Pretty Prop Shop, we provide everything you need: varying styles of champagne glasses and a square acrylic drip tray to set the stage for your sparkling display. Whether you’re building a 30-glass, 55-glass, or 91-glass tower, follow our step-by-step guide below for a seamless setup.

What You’ll Need:
• Champagne glasses (30, 55, or 91, depending on your chosen size)
• Square acrylic drip tray (provided by us)
• A sturdy, level surface
• Plenty of champagne! (See our guide below for exact quantities)
How Much Champagne Do You Need?
If each glass holds a maximum of 250ml, here’s how much champagne you’ll require:
• 30-Glass Tower: Approx. 7.5 litres (10 standard 750ml bottles)
• 55-Glass Tower: Approx. 13.75 litres (18 standard 750ml bottles)
• 91-Glass Tower: Approx. 22.75 litres (31 standard 750ml bottles)
Pro Tip: If you’re pouring champagne only into the top glass and letting it cascade down, you’ll likely need 20–30% less champagne. It’s always wise to have a couple of extra bottles on hand—just in case!
Step 1: Choose the Right Surface
Ensure your table is stable, flat, and sturdy enough to support the weight of the glasses and champagne. Place the acrylic drip tray securely in the center of the table.

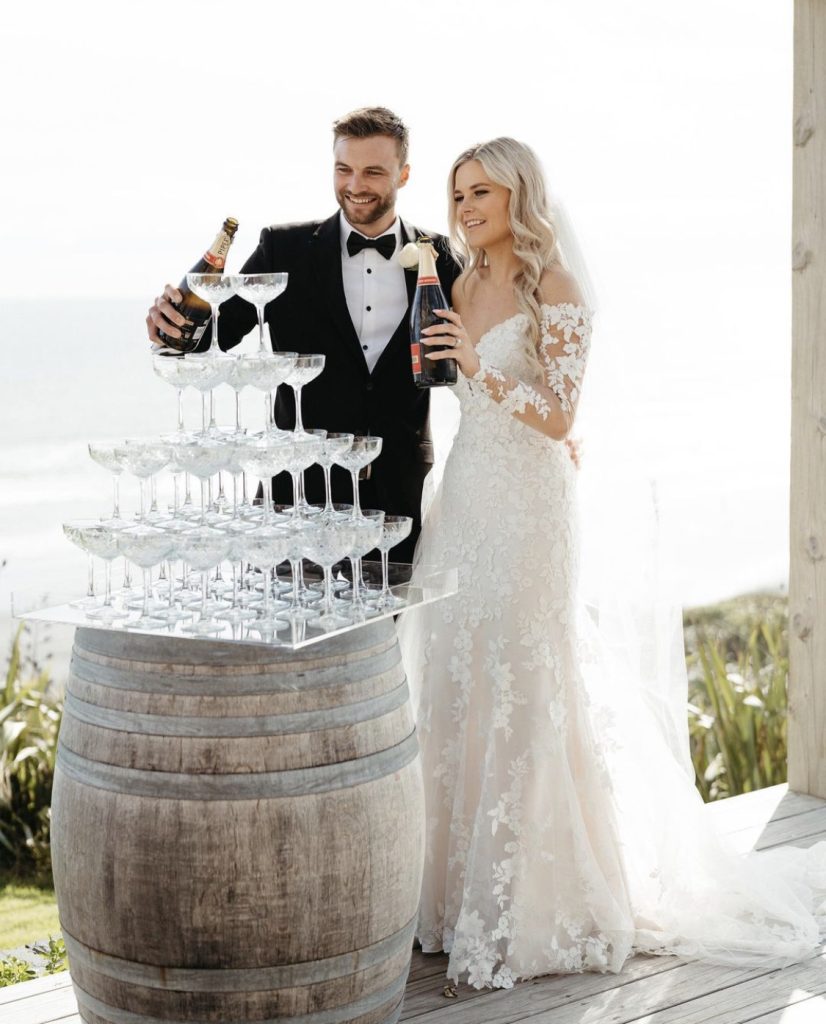
Step 2: Build the Base Layer
• 30-Glass Tower: Base of 4×4 glasses (16 glasses)
• 55-Glass Tower: Base of 5×5 glasses (25 glasses)
• 91-Glass Tower: Base of 6×6 glasses (36 glasses)
Start by placing the glasses in neat, even rows, ensuring the edges of each glass touch its neighbor. Precision is key to stability!

Step 3: Add Layers
For each new layer, reduce the number of glasses by one row per side:
• On top of your base, add the next layer (e.g., 3×3 for a 30-glass tower).
• Continue stacking until you reach a single glass at the top.
Make sure each glass is centered over the gap of four glasses below it.
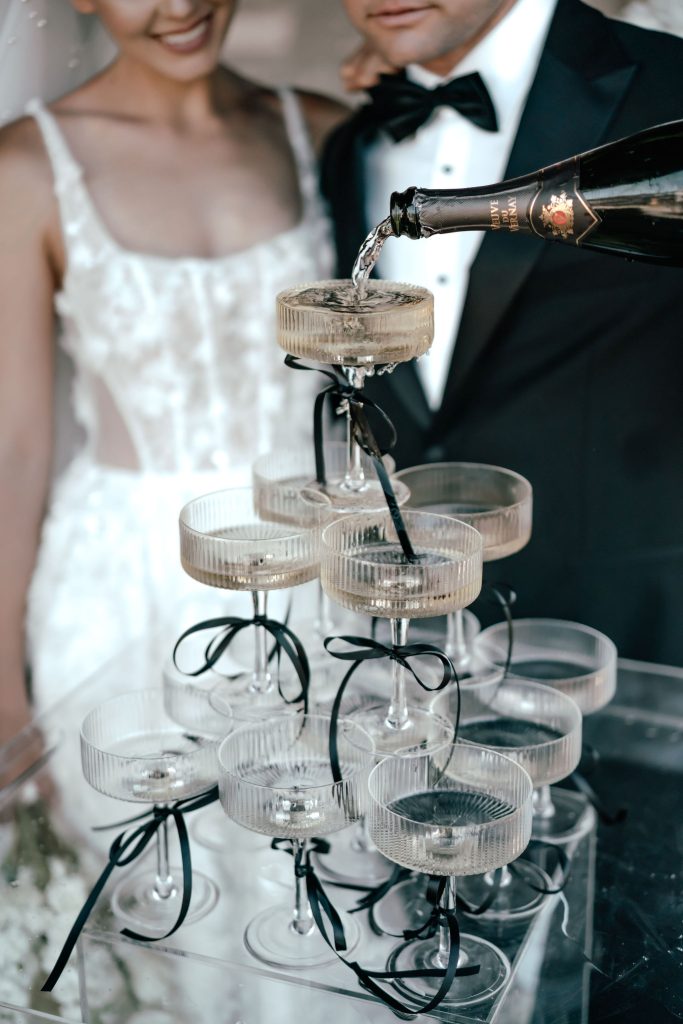
Step 4: Pour the Champagne
Once your tower is complete:
• Slowly pour champagne into the top glass.
• Allow it to overflow and cascade gently into the glasses below.
For the most dramatic effect, use chilled champagne and pour at a steady pace.
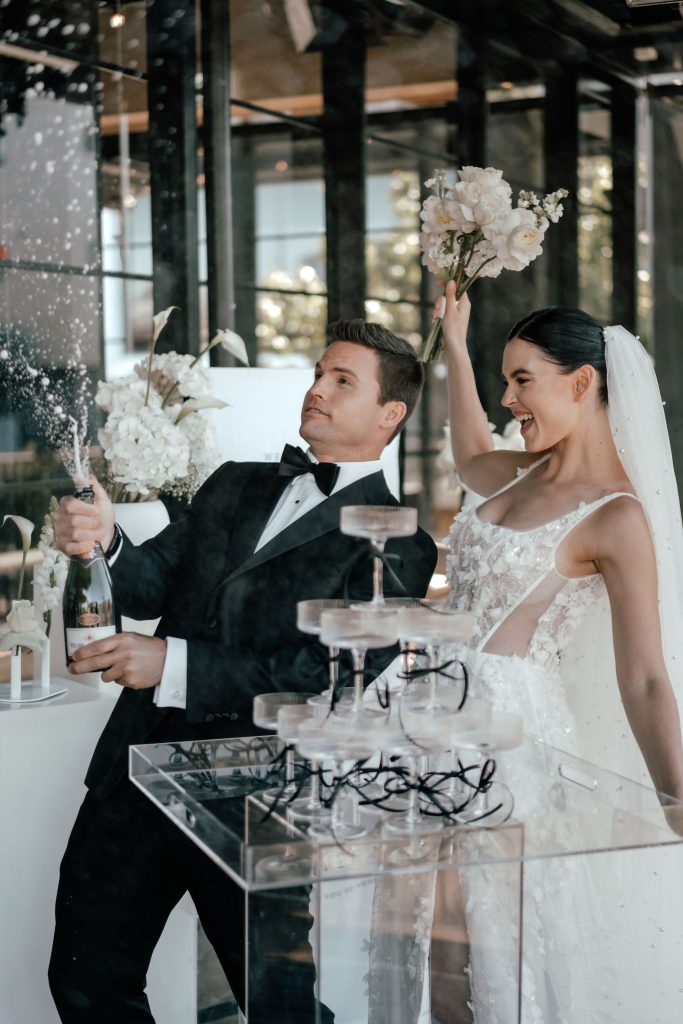
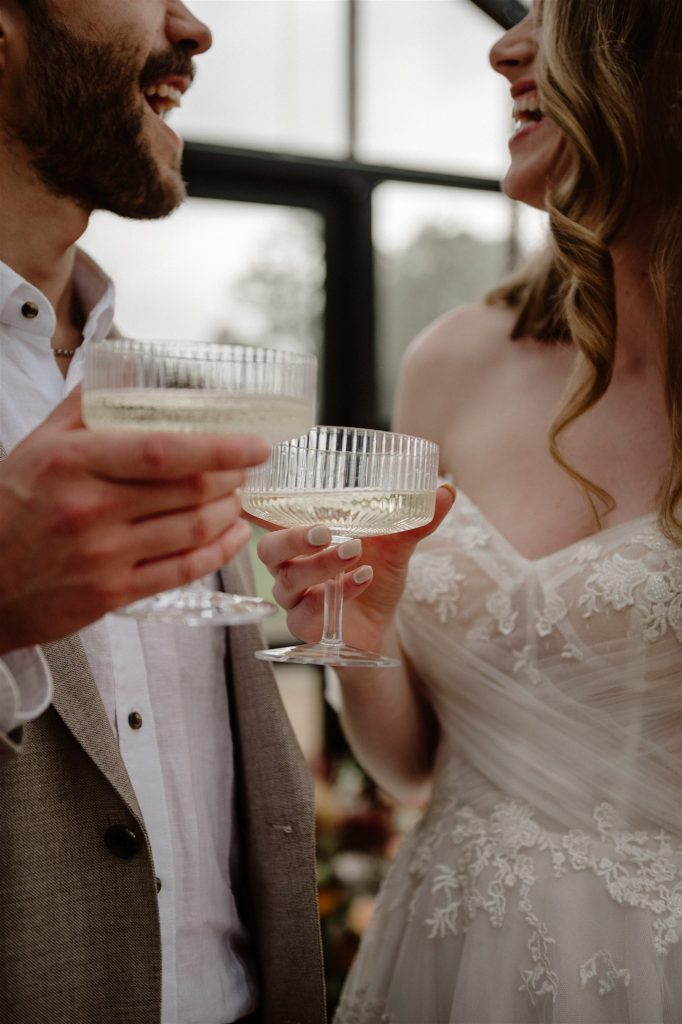
Step 5: Enjoy!
Your champagne tower is now ready to impress your guests. Don’t forget to capture the moment with photos!
Final Tips:
• Build the tower close to where it will be displayed to avoid moving it afterward.
• Keep spare glasses nearby in case of accidents.
• For a unique twist, consider using sparkling wine or prosecco!
At The Pretty Prop Shop, we provide everything you need to create a stunning champagne tower. Ready to make your event unforgettable?
View our Champagne Tower Hire Range Here
If you are overseas and wish to purchase your own items to create your champagne tower we recommend the following items for sale on Amazon:
Square Acrylic Drip Tray
Square Acrylic Drip Tray with Gold Handles
Ribbed Coupe Cocktail Glasses – available in Clear, Pink, Blue or Amber